Ever wanted to capture that epic gaming moment or share a hilarious conversation on your iPhone? Recording your phone screen can be a game-changer, whether it’s for tutorials, troubleshooting, or just bragging rights. Luckily, Apple made it easier than finding a cat video on the internet.
Overview Of Screen Recording On iPhone
Screen recording on iPhone provides users with a simple and effective way to capture their device’s activity. This feature enhances user experience, enabling a variety of applications.
Benefits Of Recording Your Screen
Recording the screen on an iPhone permits users to create visual content with ease. Many appreciate the ability to document tutorials, as they can demonstrate processes visually. Some use screen recording to save important video calls or shared moments, preserving memories forever. Capturing gaming sessions also stands out, as players can showcase their achievements or strategies. Additionally, troubleshooting becomes simpler, as users can share recordings with support teams to explain issues accurately.
Common Uses For Screen Recording
Various scenarios benefit from screen recording on an iPhone. Creating educational content serves as a primary use, allowing instructors to develop engaging lessons. Users might create product reviews, showcasing features and functionalities. Sharing gameplay highlights becomes prevalent among gamers, offering an avenue to connect with viewers. Businesses often utilize screen recordings for presentations, enhancing communication with clients. Lastly, recording social media interactions lets users share clips of engaging conversations.
How To Enable Screen Recording
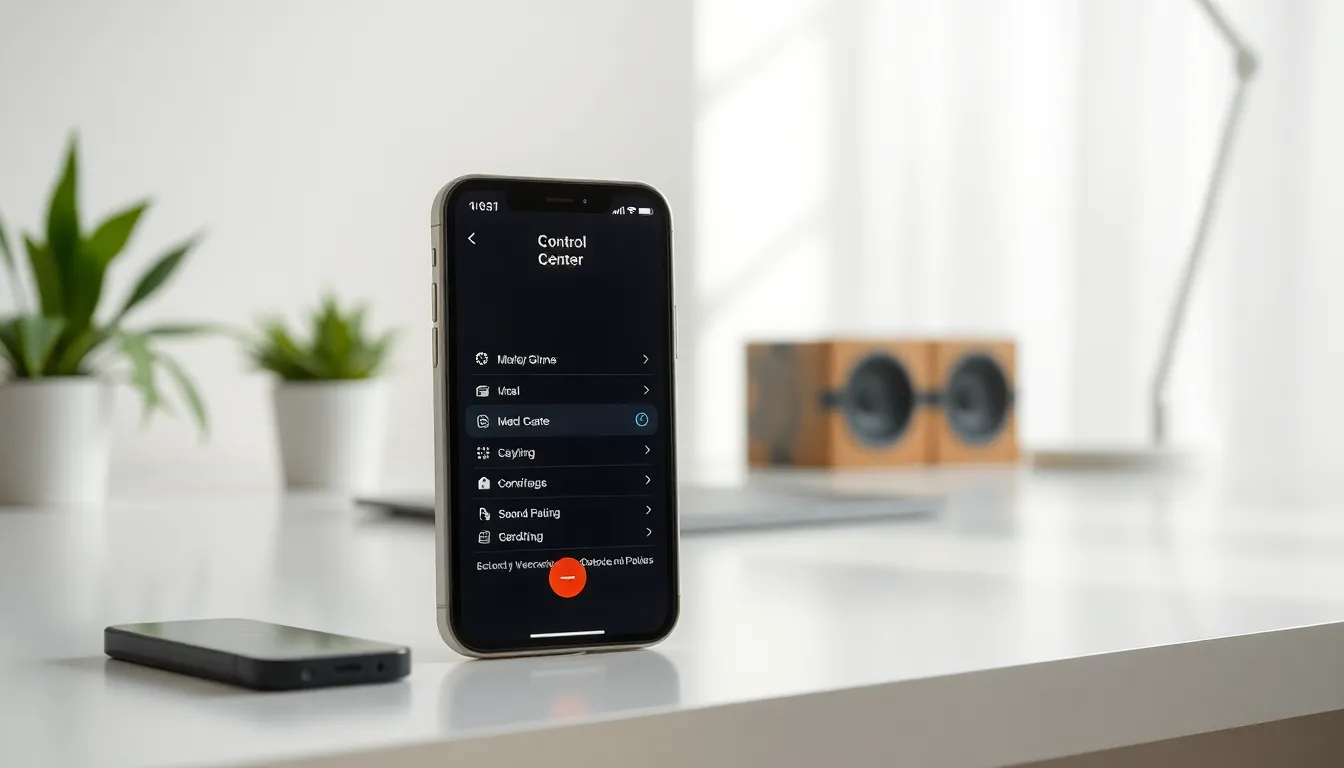
Enabling screen recording on an iPhone is straightforward. Follow these steps for a seamless setup.
Accessing The Control Center
Users can access the Control Center by swiping down from the top-right corner of the screen. This action reveals various icons. Once in the Control Center, locate the screen recording icon, which resembles a solid circle with a surrounding ring. If the icon isn’t visible, it may require adjustment in the settings.
Adjusting Settings For Screen Recording
Access settings by tapping the Settings app. From there, scroll down to Control Center and tap on it. In this section, users can customize which controls appear in the Control Center. To add screen recording, locate the option and tap the green plus sign next to it. Once this action is completed, the screen recording icon will appear in the Control Center, allowing for easy access to recording features.
Recording Your Screen
Recording your iPhone screen allows for a seamless way to capture device activities. Following a simple set of steps ensures users can easily start recording.
Step-By-Step Guide To Start Recording
- Open the Control Center by swiping down from the top-right corner for devices with Face ID.
- Look for the screen recording icon, which resembles a circle inside another circle.
- Tap the icon to start recording; a countdown will appear, giving users three seconds to prepare.
- To stop recording, tap the red status bar at the top of the screen and confirm by selecting “Stop.”
- Access the recorded video in the Photos app under the “Recent” or “Albums” sections.
Tips For Capturing High-Quality Audio
- Enable microphone audio by pressing and holding the screen recording icon before starting.
- Choose a quiet environment to enhance audio clarity, minimizing background noise.
- Adjust app volumes to balance sound levels during gameplay or app demonstrations.
- Ensure the device is in Airplane mode to prevent incoming calls or notifications that can disrupt the recording.
- Test audio settings with a quick recording to confirm quality before capturing important content.
Editing And Sharing Your Screen Recordings
Editing screen recordings on an iPhone is straightforward. Users can leverage built-in tools for quick adjustments. Trim video length by accessing the recording in Photos and selecting Edit. Cropping or applying filters enhances visual appeal. The markup feature allows users to annotate recordings with text or drawings, adding context and clarity. These tools streamline the editing process.
Sharing recorded content is equally easy. Users can upload videos directly to platforms like YouTube and Instagram from the Photos app. Sending recordings via AirDrop facilitates quick sharing with nearby devices. Messaging apps also support video sharing, enabling users to send content directly in chats. Emailing recordings offers another option for delivery. Users can select preferred methods based on audience and engagement needs.
Troubleshooting Common Issues
Users may encounter occasional issues while trying to record their iPhone screen. Here are common problems and solutions.
Recording Not Working
Sometimes, screen recording fails to initiate. First, users should ensure that the feature is enabled in Settings under Control Center. If it still doesn’t work, a quick restart of the iPhone often resolves the issue. Users may also check for software updates, as older iOS versions can lead to functionality problems. Additionally, insufficient storage space can hinder recording capabilities. Monitoring available storage is essential; users should have at least a few hundred megabytes free for successful recordings.
Sound Issues During Recording
Sound problems can crop up unexpectedly during screen recordings. Users should check if the microphone is enabled in the Control Center before starting. Adjusting the volume settings on the iPhone can also improve audio capture. If users record a app that outputs sound, ensuring that the app’s volume is turned up can be crucial. Environment noise may affect overall audio quality, so recording in a quieter space is advisable. Testing audio quality before finalizing the recording enhances clarity for viewers.
Recording the iPhone screen opens up a world of possibilities for users. Whether it’s capturing gameplay moments or creating engaging tutorials the process is user-friendly and efficient. With just a few simple steps anyone can enable and start recording their screen.
The built-in editing tools make it easy to refine recordings before sharing them with friends or on social media. Plus troubleshooting common issues ensures a smooth recording experience. By mastering screen recording users can enhance their digital communication and creativity significantly.